


Overview
Vehicles
Vehicle
Pick a studio reference, or leave on default. Analysis (make/model/plate) and the studio render happen together once you start.
Leave empty to let the AI identify it. Fill this in if you already know it — it's always more reliable than a guess, and helps most for a 360 spin.
Leave empty to let the AI read it — if the plate isn't clearly visible, it will render it as illegible rather than guess. Fill this in if you already know the correct plate.
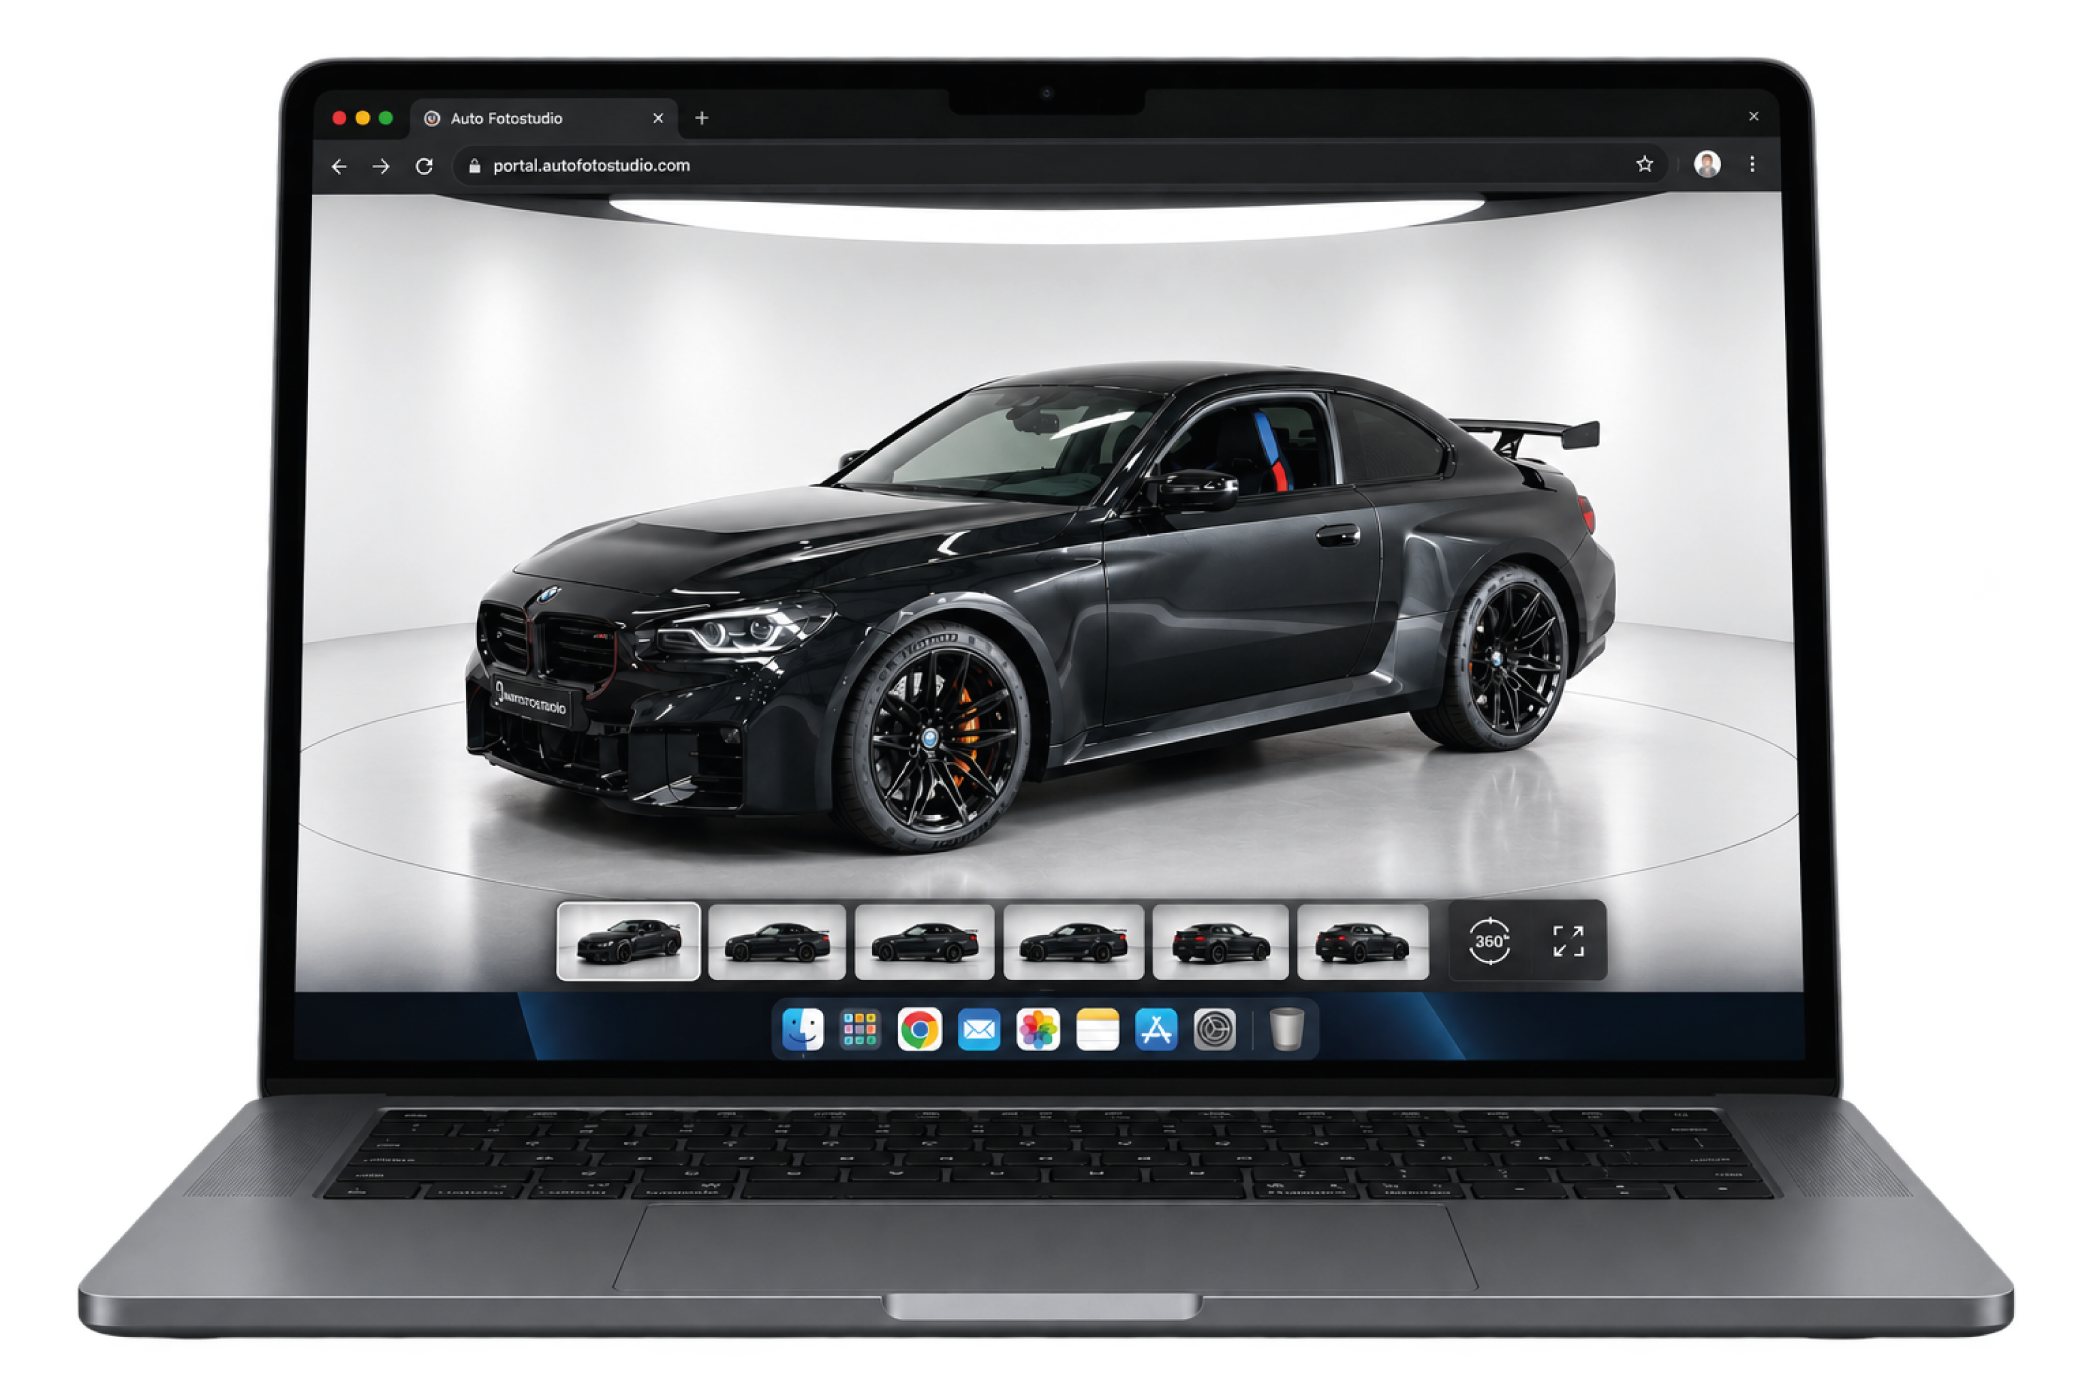
Paste this into your own site's HTML, wherever the spin should appear. No iframe, just a div and one script tag. It's a plain static widget: once pasted, viewing it never touches our servers beyond serving the images themselves.
Capture
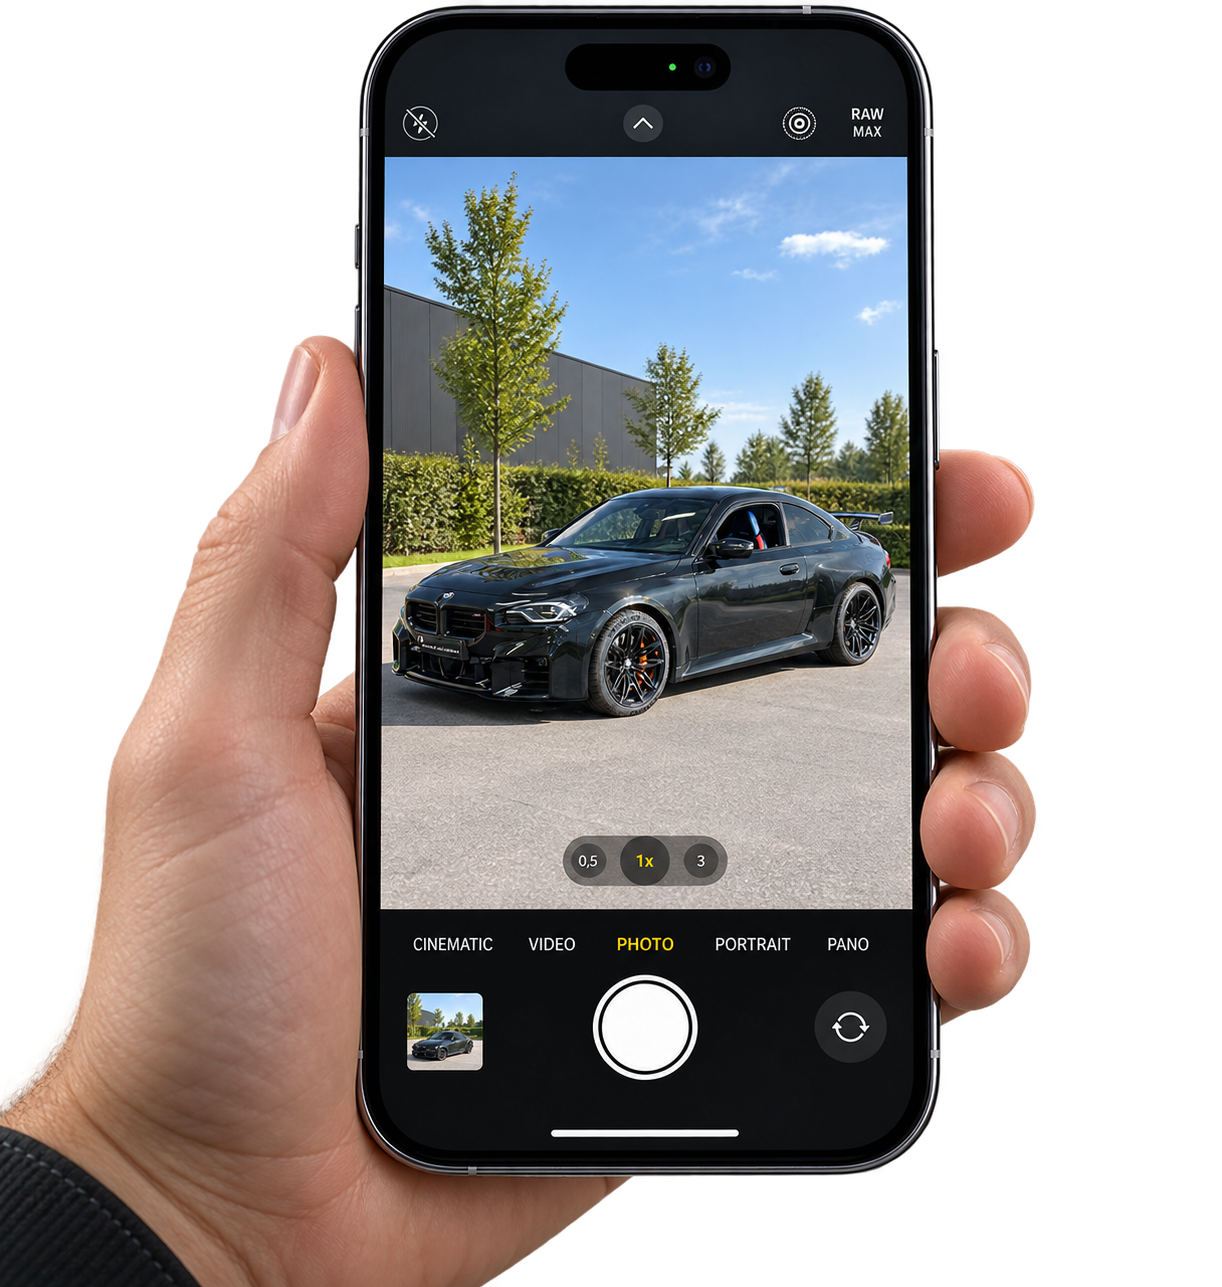
Upload one or more photos of a vehicle — front, side, rear, whatever angles you have. They all become one vehicle entry; pick a studio and start processing on the next screen.
Studio
The default studio is used automatically for every transform unless a vehicle has its own reference photo attached.
Shared presets provided by AFS — available to every account, pick one below for a specific vehicle.
Publishing
Publishing to a dealer website or marketplaces isn't connected yet.
Building your own integration? See the API documentation.
| Name | Key | Created | Last used |
|---|
No API keys yet.
Copy this key now — it won't be shown again.
Analytics
Member since —
Photo Protocol
The checklist photographers see in the mobile app for every new vehicle. Editable by the account owner; everyone else sees it read-only.
De onderstaande hoeken zijn platformbreed verplicht en kunnen niet worden verwijderd (wel worden uitgezet bij "Volgorde van presenteren" hieronder). Voeg je eigen extra items toe zo veel als je wilt.
Verplicht bij AI-bewerking
Verplicht bij 360-verwerking
Verplicht bij Naturel
Voor Naturel-verwerking zijn geen foto's verplicht.
Extra items
No checklist items yet — add one below.
A "Badge/logo close-up" item lets photographers capture the vehicle's actual badge, wheel center cap, or logo up close — that photo is used as a reference during processing so the studio render matches the real badge instead of a generic guess for the make.
Bepaalt in welke volgorde afgeleverde foto's worden benoemd/getoond. Een item hier uitzetten levert die foto niet af — maar telt niet mee voor wat hierboven verplicht is om te fotograferen.
Admin
Superadmin-only: real API cost, revenue, and every vehicle across every account.
No processed vehicles in this window yet.
Reads the photo and writes down what the car actually is: make, model, body type, licence plate, badges and their positions. It generates no image. Everything the next step must preserve is decided here, so a mistake here (a Tiguan read as a Passat) carries straight through.
Read-only on purpose: this prompt is paired with a strict JSON output format. Editing the wording freely would break how the answer is read back, not just how it is phrased.
Takes the photo plus the analysis from step 1 and renders the studio result. This is where the background, lighting, reflections and badge handling are decided, and where the image cost is incurred.
Only used once you edit the prompt below. Naming your experiments is what makes it possible to tell later which one was running.
Added on top of the transform prompt above only for a Premium 360-spin frame after the first, asks the model to match the previous angle's own rendered studio environment exactly, instead of treating it as a loose style reference. Read-only: a fixed addendum, not a separate version to pick.
Charged once per vehicle at "Start processing" — a session bills at the cheapest tier whose photo cap it fits, auto-upgrading if it goes over. Max photos and the 360 spin are fixed, only name and price are editable.
| Name | Max photos | 360 spin | Price (€) |
|---|
Charged per photo once a non-spin vehicle passes Premium's photo cap, instead of blocking further uploads.
"Credited" is what lands in the tenant's wallet — set higher than "Price" for bonus credit on bigger top-ups.
| Name | Price | Credited | Bonus | Active |
|---|
No credit packages yet.
| Tenant | City | Province | Country | Vehicles | Revenue | API cost | Campaign | Promo code | Signed up |
|---|
Free credit for a brand-new tenant — once per real company domain, never for consumer webmail.
| Name | Country | Source | Default credit | Codes | Redeemed | Emails sent | Emails pending | Status | Actions |
|---|
| Code | Campaign | Company | Credit | Status | Email sent | Redeemed by | Actions |
|---|
Events fire automatically once an ID is filled in above. Purchases report the real amount in euros, so campaign performance can be measured on revenue rather than signups alone.
| Moment | Meta | |
|---|---|---|
| Page visit | PageView | page_view |
| Account created | CompleteRegistration | sign_up |
| Payment completed | Purchase + € | conversion + € |
Hulp bij flashen?
1. Eenmalig: partitieschema instellen (cruciaal voor de rollback-functie)
Zonder deze stap werkt de automatische rollback bij een mislukte update niet — er is dan simpelweg geen tweede partitie om naar terug te vallen.
- Sluit de ESP32 aan, selecteer 'm in
Tools → Board(hetzelfde board als je al gebruikte voor V2.1/V2.2). - Ga naar
Tools → Partition Scheme. - Kies een optie die OTA ondersteunt — de standaardoptie ("Default") heeft dit al ingebouwd. Vermijd expliciet alles met "No OTA" of "Huge APP" in de naam — die hebben maar één app-partitie, dus geen tweede plek om op terug te vallen.
2. Eerste keer: verplicht via USB-kabel
OTA kan alleen een ESP updaten die al V2.3 (of nieuwer) draait — de allereerste installatie van V2.3 moet dus via de kabel, net als voorheen.
- Open
backup_arduino_ble/THIN_MOTION_V2.3.inoin de Arduino IDE. - Controleer
Tools → Port(juiste COM-poort/seriële poort van de aangesloten ESP32). - Klik Upload (pijltje-icoon).
- Open daarna de Serial Monitor (115200 baudrate). Je moet zien:
Usage counter loaded: 0 pulses lifetime(of een hoger getal als er al eerder pulsen geteld waren — dat zou hier niet moeten, want dit is de eerste keer dat de teller-code draait).
3. Functioneel testen (vóór je 'm ophangt bij een klant)
Via de app zelf, of met een generieke BLE-tool (bijv. nRF Connect) als de app nog niet klaar is om te testen:
- Stuur
getversion→ verwachtversion:2.3.0(of het actuele versienummer). - Stuur
getusage→ verwachtusage:0(of hoger). - Draai een normale rotatie (
startvideo:24) en check in de Serial Monitor of je 24× "Status: Photo - stap..." ziet, gevolgd door "Status: Pause...".
4. De OTA-flow zelf testen
Let op: de ESP32 kan geen .ino-broncode over WiFi ontvangen en compileren, alleen een kant-en-klaar gecompileerd binary. De stap hieronder ("Export Compiled Binary") is dus niet optioneel — dat is het exacte bestand dat je hierboven bij "Publish a firmware release" moet uploaden.
- Maak een tweede firmware-versie om naartoe te updaten (kan een dummy-wijziging zijn, bijv. het versienummer omhoog naar 2.3.1) — anders heeft de "check for update" niks te vinden.
- Compileer 'm in de Arduino IDE (zonder te uploaden) en kies daarna
Sketch → Export Compiled Binary. Het resulterende.bin-bestand komt terecht in dezelfde map als het.ino-bestand (meestal in eenbuild/-submap). - Upload dat
.bin-bestand hierboven bij "Publish a firmware release" en geef het het juiste versienummer mee. - Trigger de update vanuit de app (Instellingen → Firmware-update).
- Let in de Serial Monitor op:
Status: Starting OTA mode, gevolgd doorOTA AP gestart, IP: 192.168.4.1. - Verbind je telefoon handmatig met wifi-netwerk "thinmotion2026" (of laat de app dat doen via de instructieknop).
- Tik "Ik ben verbonden" in de app — de upload start daarna automatisch; in de Serial Monitor zie je de voortgang ("OTA-upload gestart..." / "OTA-upload klaar...").
- Na afloop herstart de ESP zelf; controleer met
getversiondat de nieuwe versie er staat.
5. Rollback expres testen
Voordat je hierop vertrouwt in het veld: forceer bewust een mislukte update (bijv. halverwege de telefoon uit wifi-bereik halen, of een corrupt/afgekapt .bin-bestand versturen) en controleer dat de ESP na de herstart gewoon weer de oude, werkende firmware draait in plaats van vast te lopen. Dat is de test die echt bewijst dat het "hufterproof" is.
The compiled .bin, not the .ino source — Arduino IDE: Sketch → Export Compiled Binary. See the help section above, step 4.
| Version | Device type | Checksum | Release notes | Published |
|---|
No firmware releases published yet.
Pin one account to a specific build for diagnostics — everyone else always gets the newest published release. Usage is the turntable's own lifetime rotation count, reported after every BLE connection.
| Tenant | Firmware | Lifetime rotations | Motor runtime | Last reported |
|---|
| Wanneer | Test | Modus | Status | Frames | Kosten |
|---|
No feedback yet.
Account
Your prepaid credit balance, usage, and invoices.
| Date | Vehicle | Photos | Credits used |
|---|
No usage yet.
| Invoice no. | Date | Type | Amount |
|---|
No invoices yet.
Needs a payment method connected first — buy credits by card, or connect SEPA via iDEAL below.
Verified live against the EU VIES registry. A valid number for a country other than the Netherlands automatically reverse-charges VAT on future top-ups.
Applies to every session the mobile app creates (turntable and manual video) — the app itself has no setting for this.
Settings
Upload your own dealer/business license plate. Mark one as default and it's applied automatically to every vehicle — unless you fill in a different plate for that specific vehicle in the review step.
| Preview | Text |
|---|
No dealer plate uploaded yet.
Canonical reference images per make (hood/grille badge, wheel center cap, ...), matched automatically against each vehicle's actual photo during processing. We don't ship or generate logo images — add your own (reference photography or licensed assets you have rights to use).
| Make | Preview | Kind | Label |
|---|
No logo assets yet.
Pick a folder structured as <any name>/<Make>/<Kind>/<file> — e.g. Mini/badge/cooper-s.png. Kind folders are matched loosely ("badge"/"grille"/"hood", "wheel"/"velg"/"rim", "rear"/"trunk"/"kofferbak"); anything else is filed as "other" and reported. The filename becomes the label.
Integrations
Automatically saves finished vehicles into a folder on your computer (sorted by make + plate) and lets you start a new capture without opening a browser.
Coming soon
Marketplace and website integrations will be configured here.
Users
A user works at your own company and sees everything in this account. A sub-account is a customer of yours, with their own login, who only ever sees their own vehicles.
| Role |
|---|
| Role |
|---|
No pending invites.
Add the companies you shoot for as a Media Dienstverlener — each gets its own separate login and only ever sees its own vehicles, while sessions you create for them bill to your account here.
| Name | Date |
|---|
No sub-customers yet.
See what each sub-customer cost you over a period, to build your own invoice per customer.
| Name | Vehicles | Cost |
|---|
No sub-customer activity in this period.
Invite a colleague from your own company. They get full access to this account: every vehicle and every setting.
Leave blank to use our standard invitation. Placeholders: {company_name}, {invite_url}, {email}.
Invite a company you shoot for. They get their own login and only ever see their own vehicles; whatever you produce for them is billed to your account.
Leave blank to use our standard invitation. Placeholders: {company_name}, {invite_url}, {email}.